
Building a Barbecue
Building a barbecue is a great summer project, so while the sun is out, the days are long, and the evenings are warm, why not try your hand at building your own?
DIY BarbequeIf our video has inspired you to have a go at building a barbeque for yourself, this article will guide you through the steps in detail. Alongside the screenshots we’ve added at each stage, it might help to refer back to the video to help you visualise the tips and techniques we describe here. The Barrel BarbecueBefore we start, you might have noticed that we used an air tank instead of the more commonly used oil drum to make our barrel barbecue. Whilst we recognise that oil drums are more accessible and obtainable than a tank, we wanted to build a robust and heavy duty barbecue that was fitting to be a competition prize. Plus, the guys just happened to have one lying around in the workshop! All of the steps outlined below are applicable for building an oil drum barbecue as well. |
What the Norton team used
| Safety Equipment |
|
| Tools and Equipment |
|
| Materials |
|
Safety is Priority Number 1
Throughout your build, please make sure that you are using and/or wearing the appropriate safety equipment for each application. Ensure that any manufacturer’s operating parameters are always adhered to and necessary precautions are taken to minimise risks to personal safety.
Making the Frame
First up, we’re going to make the metal frame for the barbecue to sit in. We recommend doing this job first because it will make the barbecue much easier to work on when we come to deburring and finishing.
It is also one of the most time consuming stages of the build, so perhaps it’s also better to get it out of the way early!
Measuring and cuttingIn our example, the frame is effectively two open rectangle shapes welded together in a cross, the open end forms the legs and the barbecue sits between the closed ends at the top. For each section of the frame, you’re going to measure out the length of box section you require – this will depend on how high you want your barbecue to be and how wide your tank or oil drum is, so be clear on this before you start cutting anything. Once you are happy with the length, mark a 45-degree angled line using your set square and marker; this will be your cutting guide. After safely securing your box section in a vice, use your angle grinder and cutting disc to cut each length. | 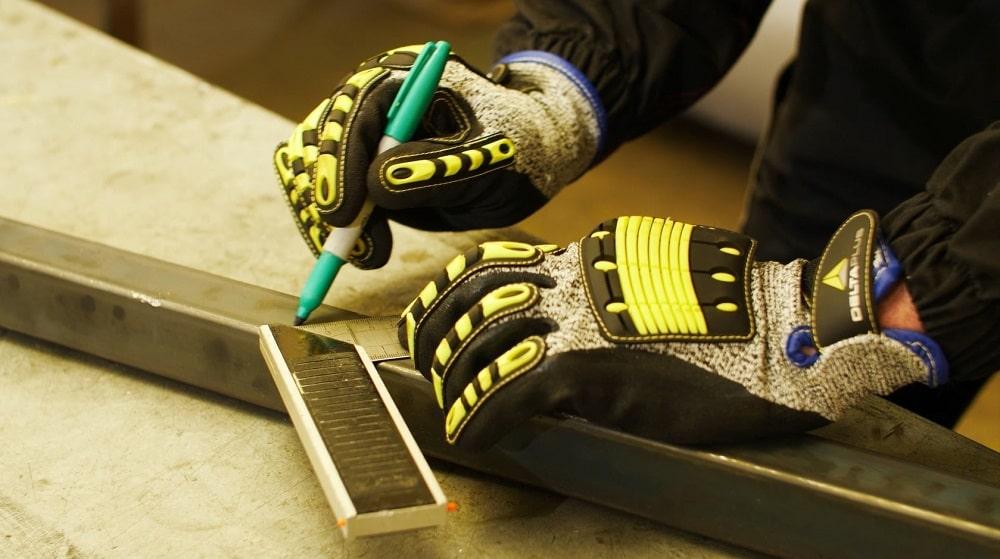
|
Welding the frameYou’re going to need 4 long sides and 2 short sides and we’d highly recommend laying each piece out on a table or workbench to ensure that each length fits comfortably together at a right angle. At this stage, you may want to de-scale your box section using a Norton Blaze Rapid Strip disc, this will save time later when the frame is fully formed. Finally, weld your (2x) 3 pieces together, to form 2 arch shapes. | 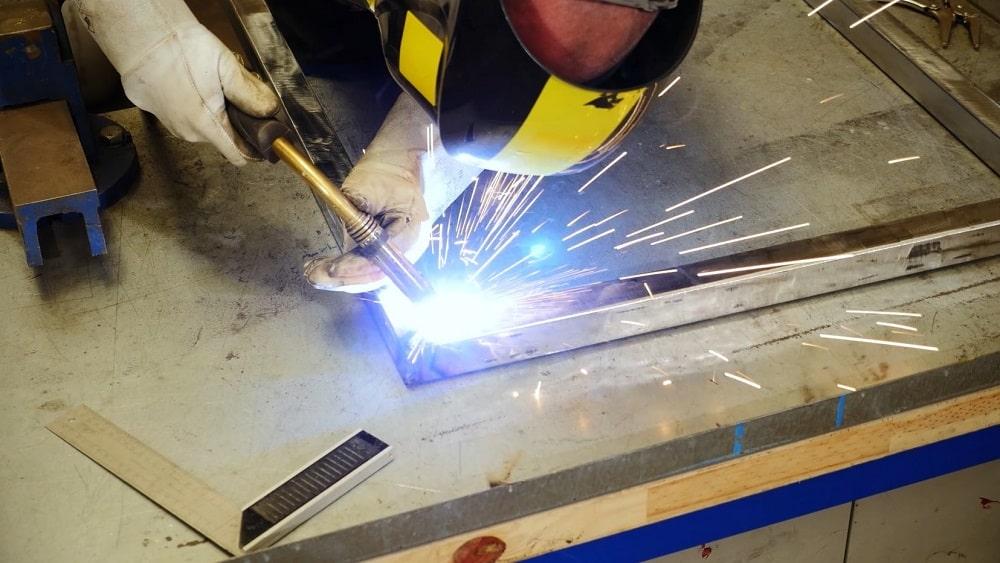
|
Now we’re going to be grinding those welds down. In the video, the Norton team used Quantum3 combo discs and X-Treme R860 flap discs to grind the welds on the frame. To complete the frame, mark the centre of both pieces; this will be the point at which they cross. With the assistance of a G clamp (and/or a friend) fix the two pieces of the frame in an X shape with the feet equidistant from each other and weld securely into place. | 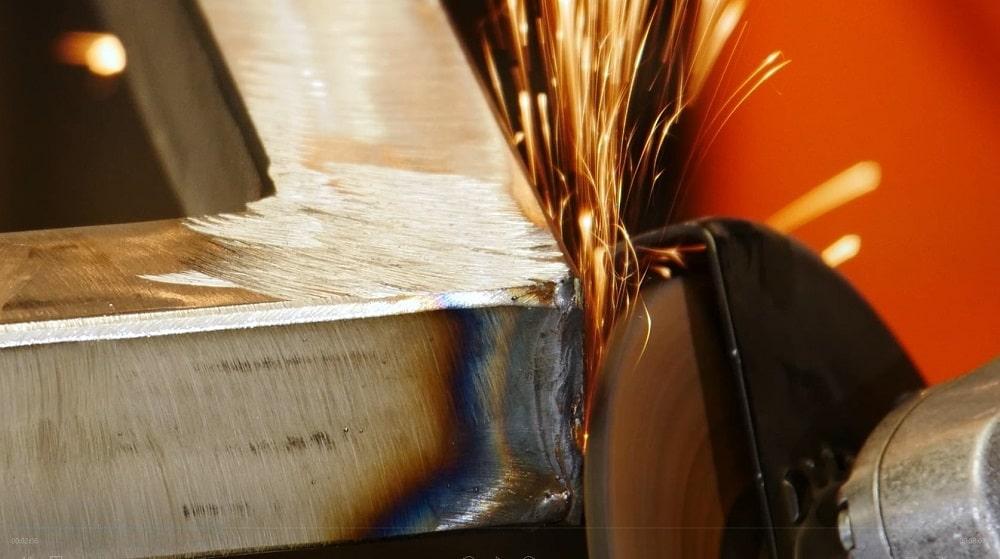
|
Making the Air Hole
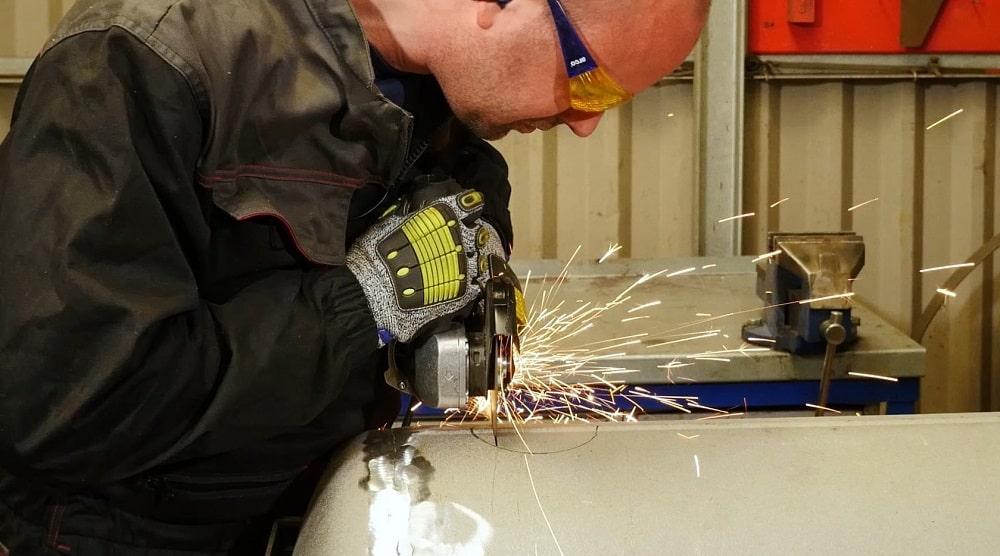
Giving your barbecue a ready supply of oxygen will keep your fire burning, your charcoal warm, and your food clear from soot. Adding an air hole to the bottom of the barbecue is a great way to do this. Take a section of your steel pipe and mark out approximately 3 inches. In our video, the guys use masking tape to give a clear, straight line as a cutting guide. The line is then cut with a cutting disc. | 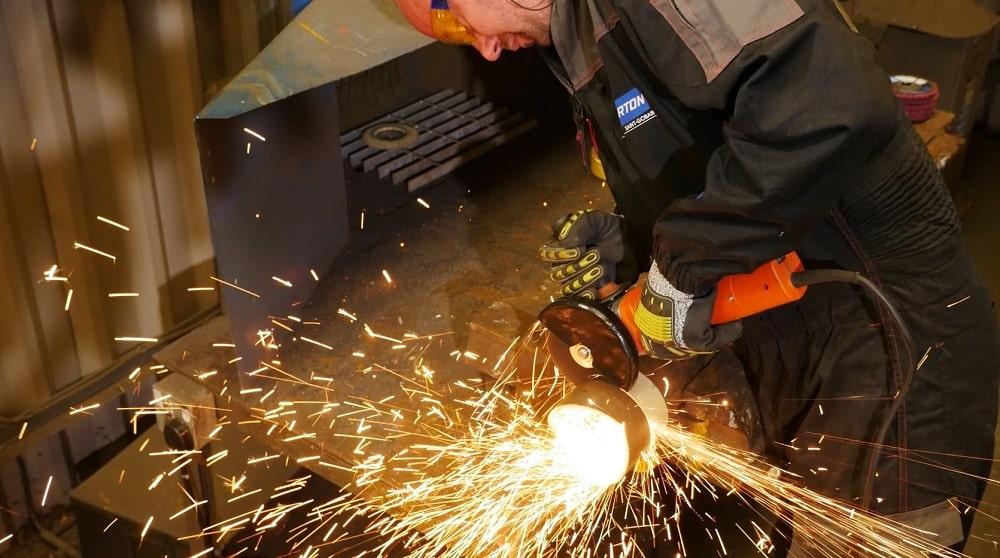
|
Remember the barbecue is curvedAs our tank is curved, the end of the pipe needs to be ground to shape so that it fits securely against the surface. It doesn’t have to be a completely perfect fit as welding will help to cover up any gaps. Once you’re happy, de-scale the metal using a rapid strip disc.
| 
|
Cut and weld the air holeOnce you have your metal ring, mark out the inner circle on the surface of the tank. Using your cutting disc and right angle grinder, cut into the surface of the tank in straight lines to the edge of the circle you have just marked out in the shape of a square. The newly cut ring is now welded in place over the square hole you have just made. | 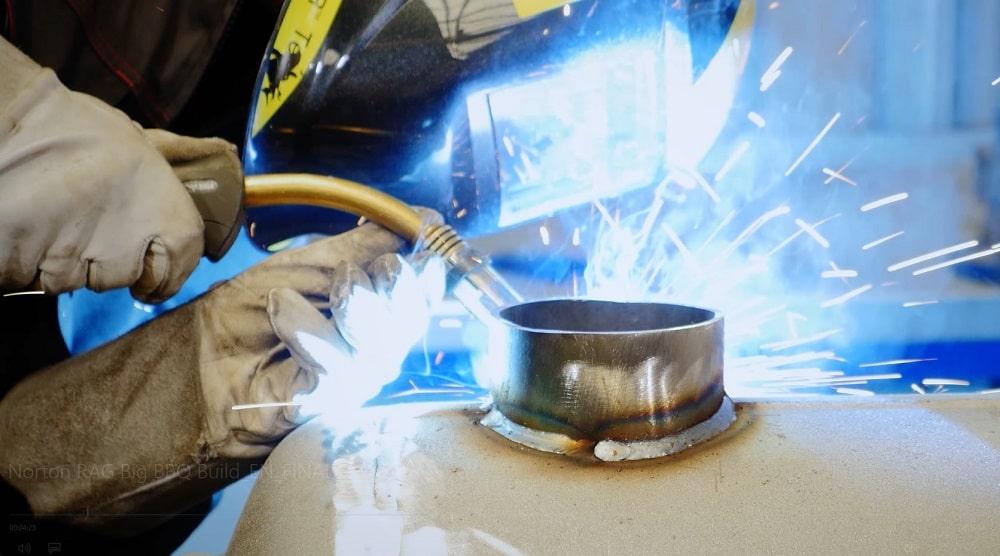
|
Cutting the Barbecue Door
Marking out the doorFirstly, you will need to mark out the position of the barbecue door. In the Norton build, the team used a marker pen and then masking tape to get a clean, straight cutting guide. The front opening of the door should be around half way up the tank / drum and the hinge side just over the apex of the curve. This however is just a suggestion and will vary from project to project. | 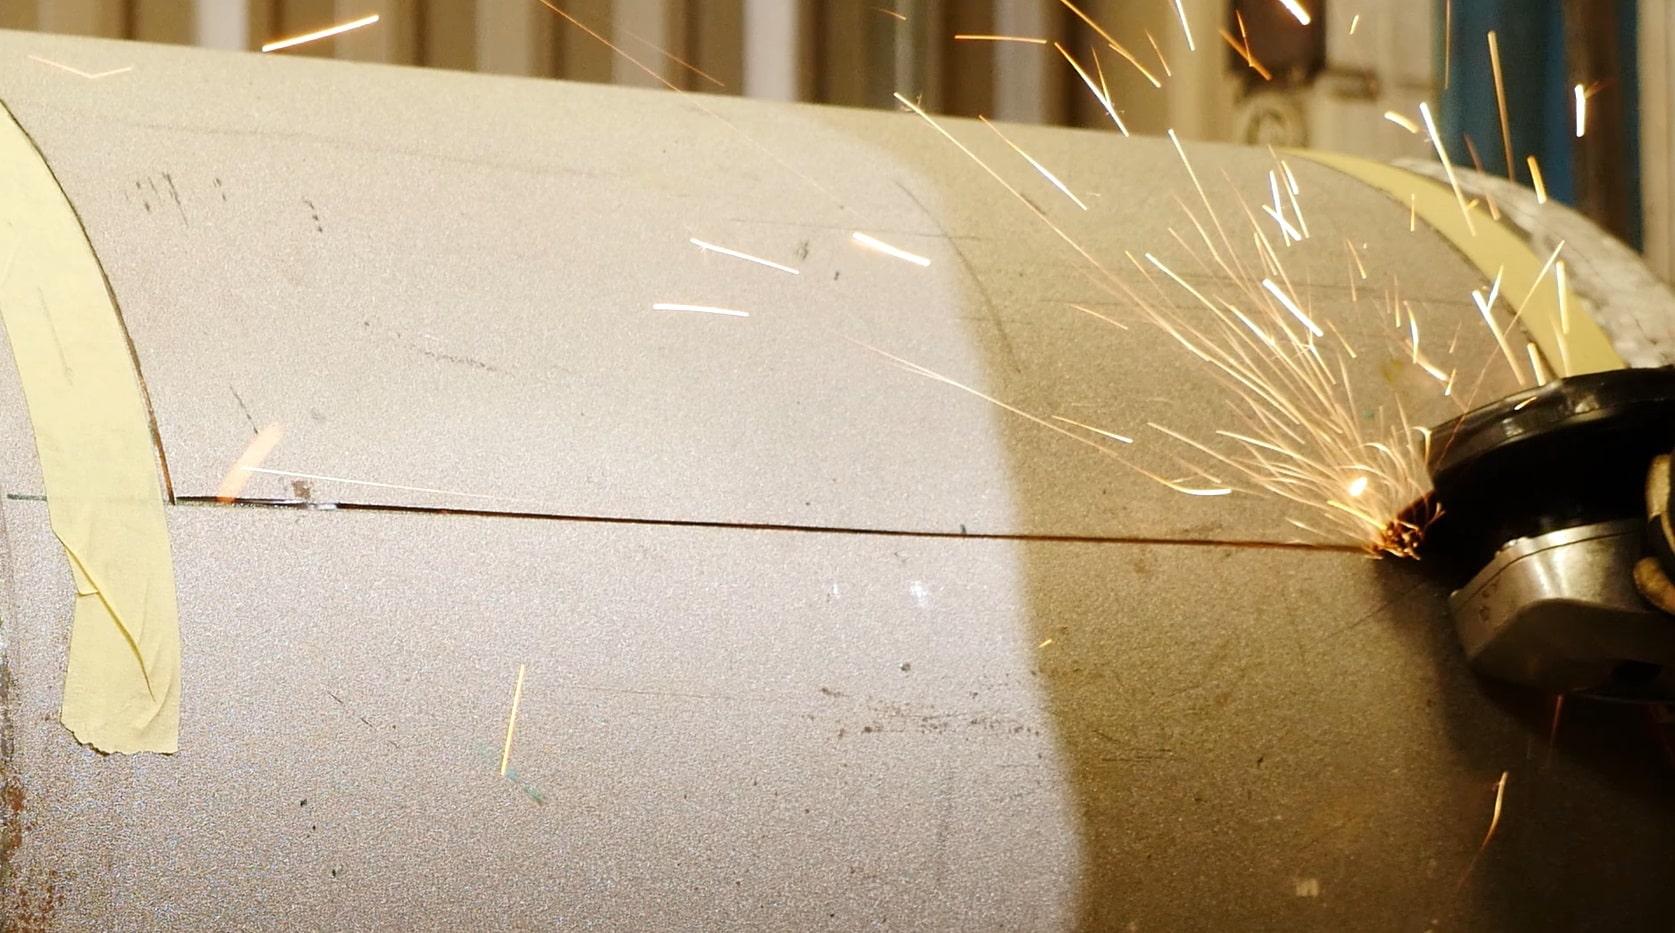
|
Cutting out and attaching hingesWe suggest you cut the hinge side first and weld the hinges on whilst the panel is still attached to the main body of your barbecue. This will prevent you having to cut the door out and reattach it at a later stage, which can be particularly tricky if you are working on your own. It will also prevent the door warping and ensure a perfect fit. Finish cutting the rest of the door once the hinges are attached. Make sure you are wearing gloves when you open it up, as the newly cut edges are razor sharp! These sharp edges will need to be deburred and smoothed over. | 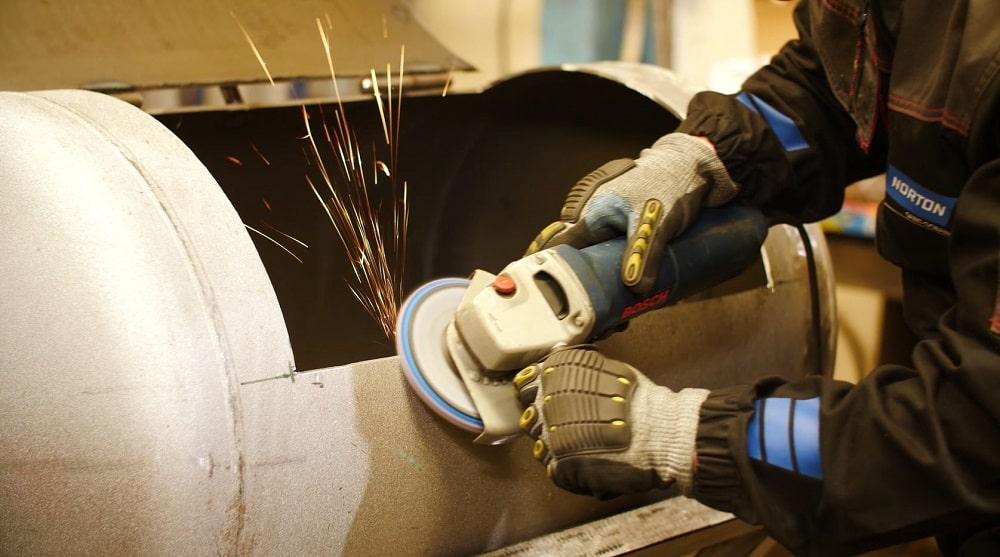
|
Attach the door stripsYou will quickly notice that the barbecue door readily falls in on itself so to rectify this, we’re going to line the edge of the door with some strips of the 2mm steel plate and spot weld them on. Clean these welds up now or when the main barbecue structure is complete. Once done, our tank/oil drum will be starting to look more like a barbecue. | 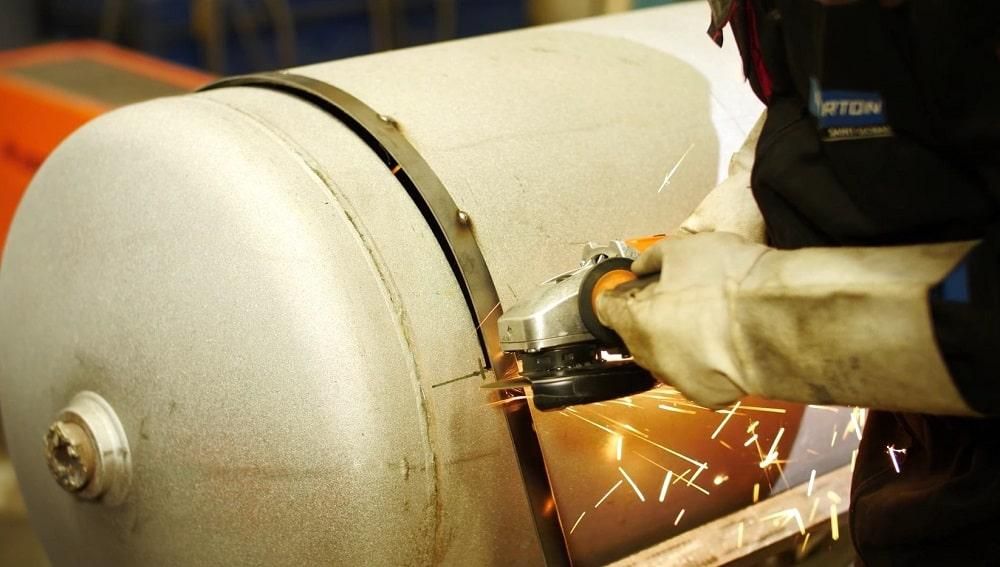
|
Making a Chimney for the Barbecue
Now we’d say that this part is probably optional but we've included one for 3 reasons:
1. A chimney will provide some extra ventilation when the barbecue is closed
2. It means your barbecue can double up as a smoker
3. They look cool!
To make the chimney we’re going to use the same 4inch steel pipe that we used for the air hole. Again, measure out your lengths. We used 50cm for the upright section and 10cm for the short section attached to the barbecue itself. As the two pieces are going to be welded together, you will need to mark out and cut corresponding 45-degree angles in the sections of pipe. This will help us to achieve that perfect 90-degree bend we’re looking for in the chimney. | 
|
The Norton team used a 1.6mm Norton Quantum3 cutting disc to cut the pipe, the Norton Blaze Rapid Strip disc to de-scale the surface, a 7mm Norton Quantum3 grinding wheel and Norton X-Treme R860 flap disc to grind the weld seam at the corner of the chimney. As you have done for the air hole previously, mark out the inner side of the pipe on the side of the tank or oil drum, and cut a hole for the chimney to sit over. Weld your completed chimney structure securely to the barbecue, ensuring that any gaps are filled in. To complete, grind the weld seam between chimney and tank. | 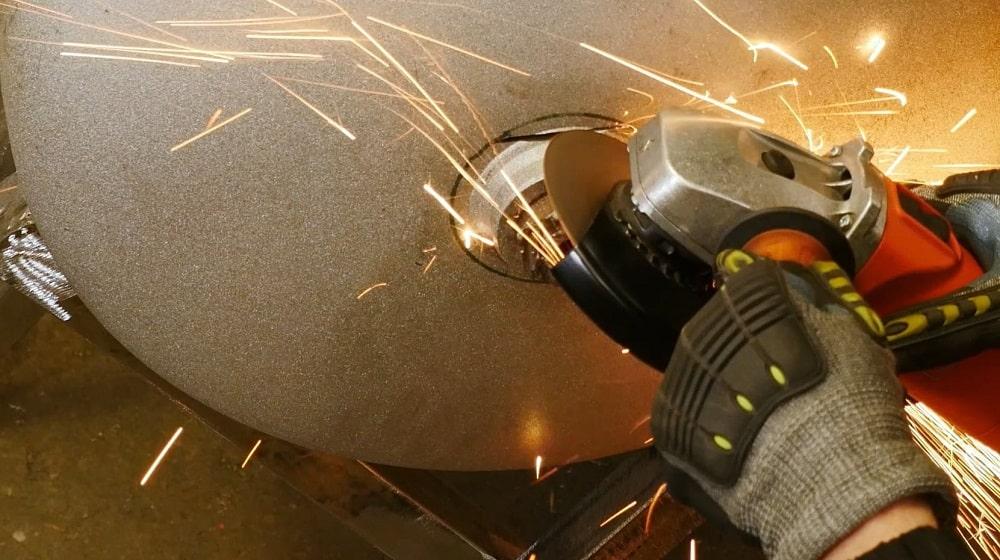
|
Adding the Finishing Touches
The handleAs you can see from our video, we chose to use a wooden handle for our barbecue as it doesn’t get hot. This was made from a spare block of wood, which was cut with a handheld wood saw and smoothed over with sandpaper. The Norton team cut a threaded rod to size, slotted it through some drilled holes in the wood, applied a securing nut, and welded the handle to the front of the door. Your handle doesn’t have to be exactly the same as long as it opens the door effectively. | 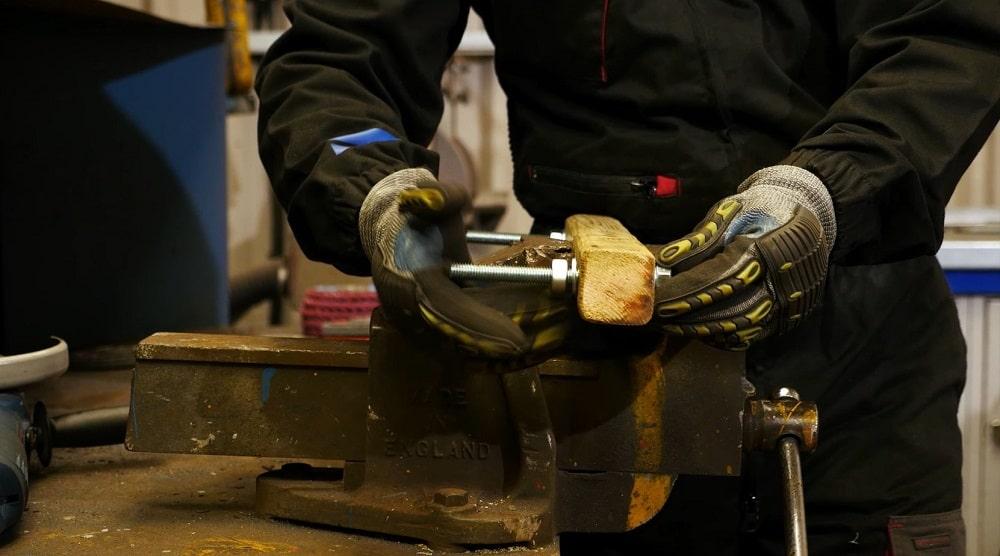
|
Temperature gaugeAgain, another optional feature that is mainly there for aesthetic purposes; the temperature gauge. Readily available from most hardware stores or online retailers, just drill a hole in front and attach it using a bolt. Simple. WheelsThe Norton barbecue is made almost entirely from steel components and a large air tank, therefore it is very heavy. To make it manoeuvrable, we simply had to affix wheels. Your own barbecue might not call for them, it’s your choice. | 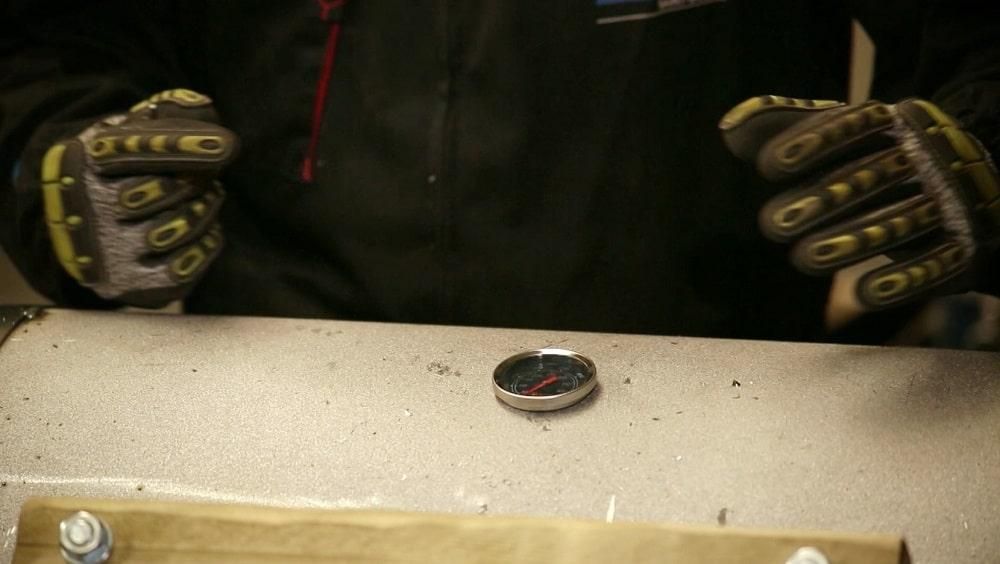
|
Final stages
Before painting your barbecue, clean up out any remaining scale/weld burn and smooth out rough scratches on the legs and surface of the tank using a Norton Vortex Rapid Blend Disc.
Pay close attention to smoothing out any remaining welds and deep scratches, as we don’t want to see these through the paint.
Finally, find yourself a really high quality heat resistant paint, the higher temperature rating the better and be sure to apply masking tape to areas you don’t want painted! Add your grill and you're all set.
Enjoy the Summer!
Pick a sunny weekend, get the food and drinks in, call your friends and family, and enjoy your new barrel barbecue!
To find your local Norton stockist for any of the products featured in our BIG barbecue build, visit www.nortonabrasives.com

|