
Whether you’ve recently moved into a new home or are looking to refresh your decor, there are a number of issues to be aware of when painting walls.
If you are wondering how to paint a wall properly or how to fix any painting mistakes, then it is important to avoid these common pitfalls and a poor finish that result from skipping the preparation stages or rushing certain steps.
1. Dust
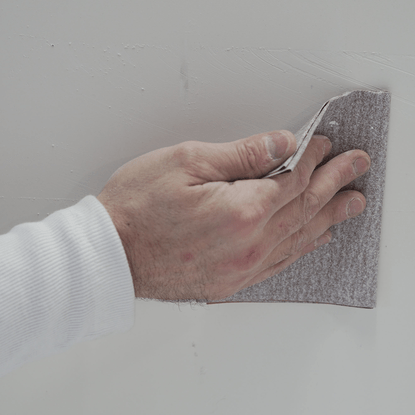
Before you paint your walls you need to prepare your surface by sanding down plaster walls and evening out any holes and rough areas to give you a smooth surface to work with.
We would recommend a medium grade of 80 for removing surface imperfections and a super fine grade of 240 before applying the final coat.
However, one issue with sanding is lots of dust is produced! Dust is renowned for getting everywhere and takes time to clean up afterwards.
Cover all your surfaces with dust sheets and ensure that any windows and doors remain open whilst sanding.
It is also important to make sure you wear dust masks to prevent breathing any dust into your lungs and also gloves to minimise any skin irritation.
The sanding pad of the Norton Expert Dust-Free Sanding Kit features a number of holes, which aids in collecting and sucking up any dust produced when sanding. Find your nearest stockist.
2. Flaking Paint
If you’ve not prepared the surface properly and wallpaper or adhesive is still present on the walls, then this may cause the paint to crack or flake.
Ensure all walls are sanded properly to remove small remnants of wallpaper or adhesive – we recommend sanding the surface using sandpaper with a fine git of 120, such as Norton Expert Multipurpose.
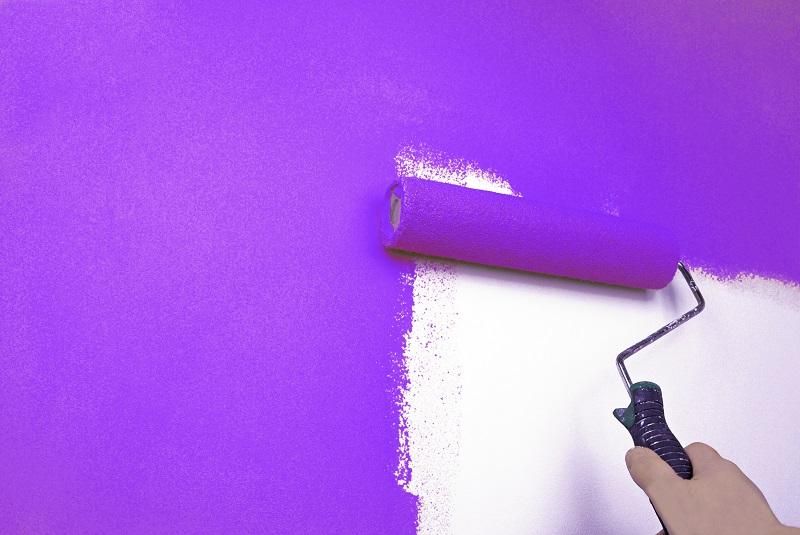
Next, lightly wash the walls with a sugar soap solution prior to painting. This will help to remove any surface contaminants and ensure your walls are clean. Once the surfaces are smooth and the walls are clean and dry, then you can start the fun part of applying your paint.
If you are painting straight onto bare plaster walls that have not been painted previously, then it is advised to paint a layer of primer paint first.
This provides a base for your chosen colour of paint as plaster is porous and absorbs the first layer of paint. A primer base will also help to prevent patchy and flaking paint from occurring. When applying the paint, ensure you do not apply it too thickly and allow plenty of time for each coat to dry. Rushing this step could cause the paint to flake in patches.
3. Blistering Paint
Blistering paint can occur if enamel/oil based paint has been applied over a damp or wet surface or if acrylic paint has been exposed to moisture after the paint has dried - especially if the surface hasn’t been prepared thoroughly.
You can simply scrape or sand the surface to remove the blisters and then repaint. However, if the blisters go down to the plaster, you will need to identify the damp source.
This can be the result of something simple like a build-up of condensation as a result of blocked or missing vents in the property. If you are concerned about damp surfaces, then it is worth speaking to a building contractor or surveyor, as they will be able to assess your property to locate the source of the damp.
4. Paint Won’t Dry
If the paint is staying tacky for a prolonged period of time, then this could be due to inferior paint being used, and/or being applied too thickly or when there is damp on the surface.
Using a good quality paint will help prevent issues, but if you suspect the surface may be damp, then simply test the paint on a small area first to see how it dries. See our tips above on how to stop paint blistering.
5. Getting Straight Lines When Painting
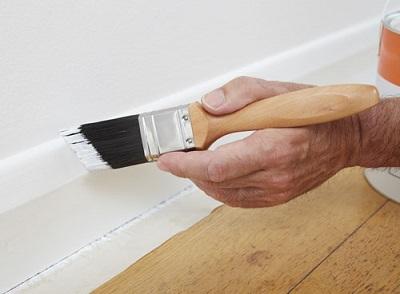
This is always a daunting task and can take a little practice. Painter’s tape can help with providing a guide when painting a straight line on a wall.
However, if you’re trying to paint a straight line between the wall and the ceiling, here are some tips:
1. Firstly, use an angled paint brush to apply paint ¼” down from the ceiling. Use a brush with the sharpest angle you can find as it will be easier to paint a straight line.
2. Instead of reloading your brush with paint, push the paint until the tips of the brush come up to the line and then stop.
3. Paint left to right in a smooth motion to straighten out the line.
Once you’re ready to start decorating, make sure you follow our preparation checklist to help avoid some of these issues. Remember to wear your mask, goggles and gloves when sanding. For more tips on choosing the right sandpaper, click here.
If you would like any more advice from our Norton experts, please get in touch.