
Setup / Use

1
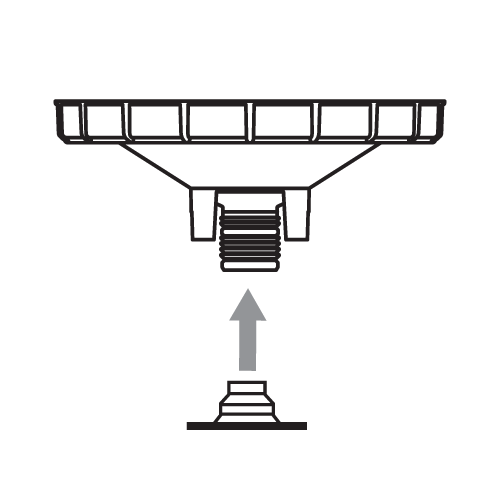
Identify and fasten adapter
Determine the correct adapter for your spray gun and fasten it using an adjustable wrench.
2
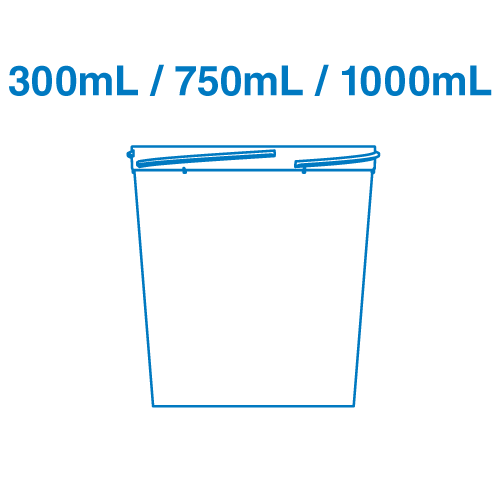
Choose the right size
Select the paint cup size based on the repair: 300 mL, 750 mL, or 1000 mL.
3
Mix the paint
Use the mix ratio on the cup and follow paint manufacturer instructions.
4
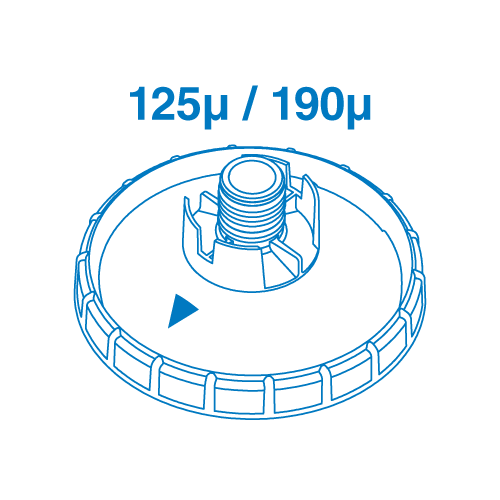
Choose the lid
Select 125 Micron for waterborne (blue) or 190 Micron for solvent (clear) lid.
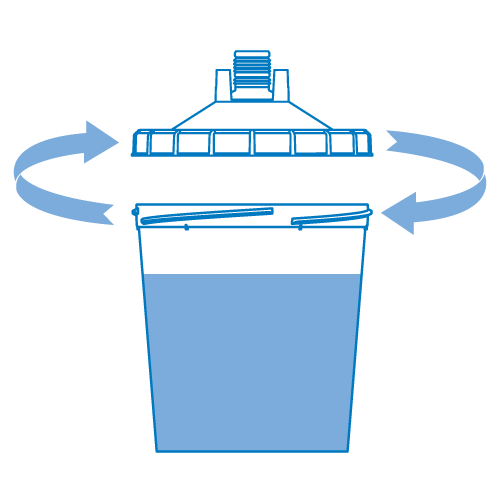
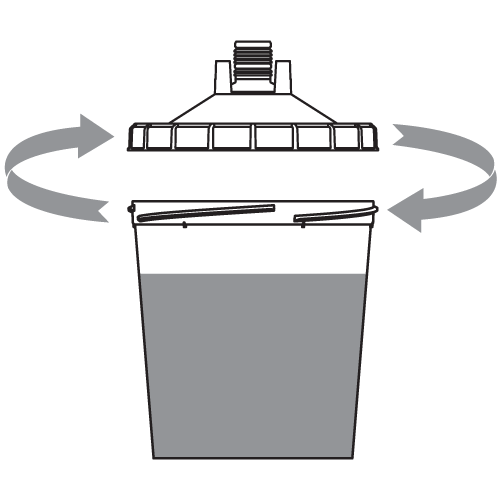
5
Attach and seal lid
Place the lid on the cup and twist clockwise until resistance is felt.
6
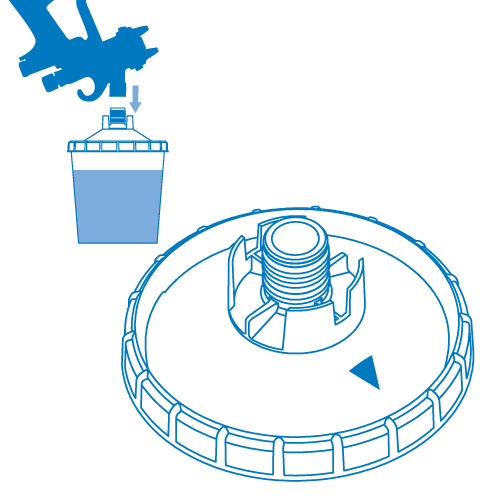
Connect spray gun
Push the adapter down onto the spout. Ensure the arrow on the cup faces the spray direction.
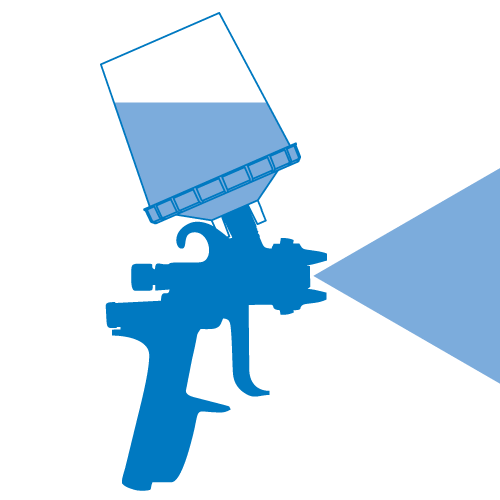
7
Spray
Pull the trigger and begin spraying the vehicle.
Purge / Disassembly
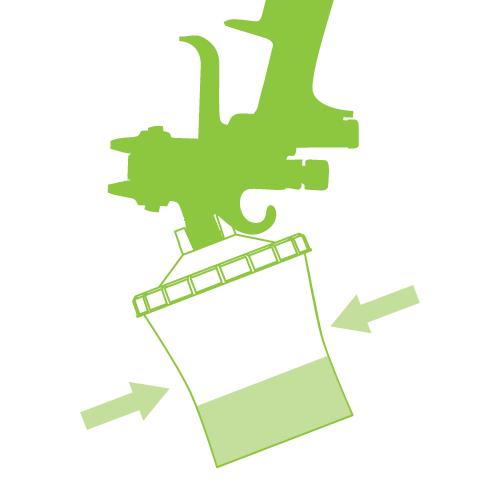
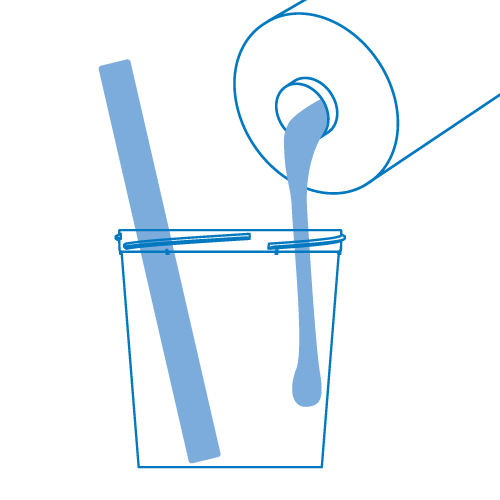
1
Purge Paint
Disconnect the compressed air supply. Hold gun upside down, pull trigger, and squeeze the cup 2-4 times at an angle.
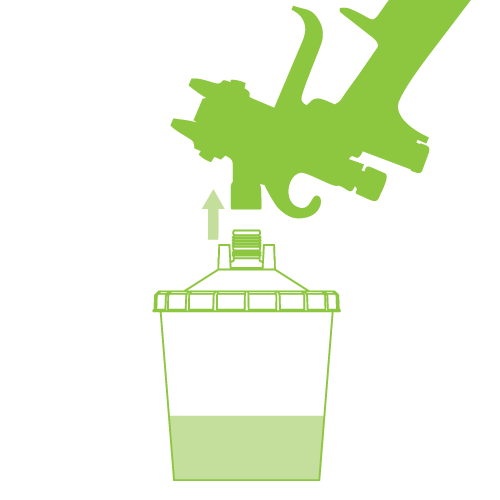
2
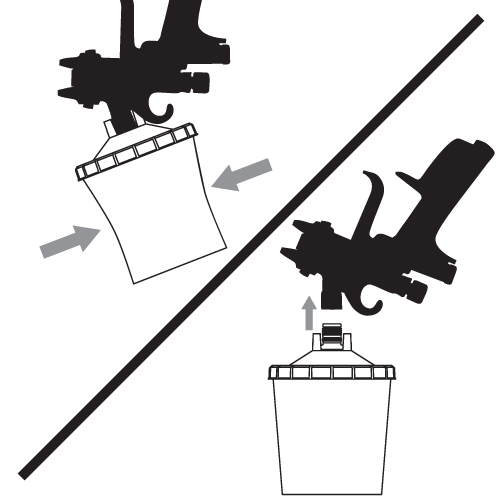
Remove Spray Gun
Pull the spray gun straight up from the spout with light pressure.
Refill
1
Follow Purge Process
Purge and remove the spray gun as before.
2
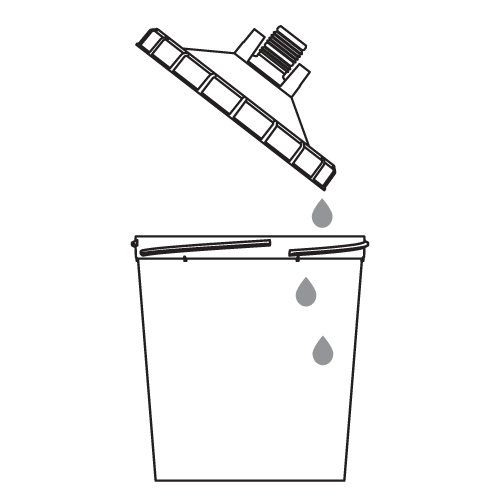
Remove Lid
Let residual paint fall into the cup.
3
Place Lid Upside Down
Place on plug or clean cup to keep thread clean.
4
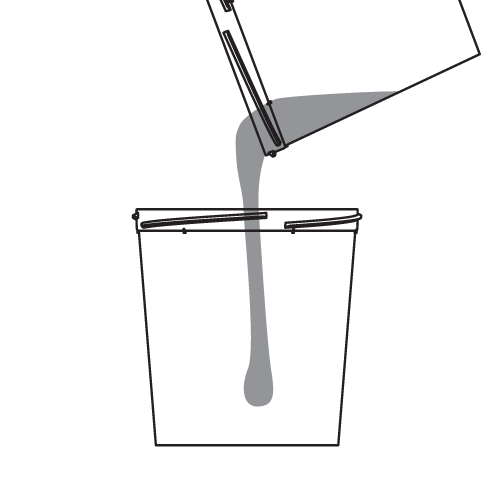
Add Mixed Paint
Add new mixed paint to the cup.
5
Reattach Lid
Quickly reattach the lid.
Storage
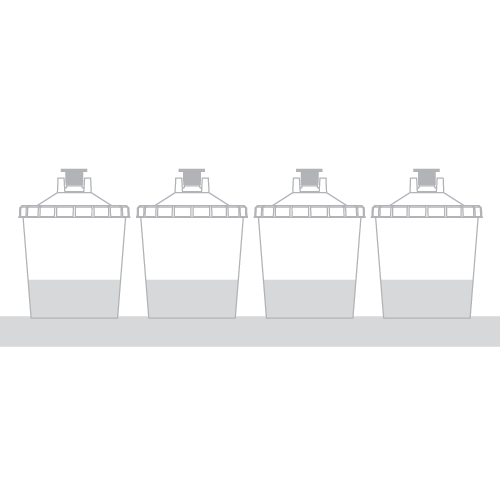
1
Option 1: Plug
Click the plug on top of the lid.
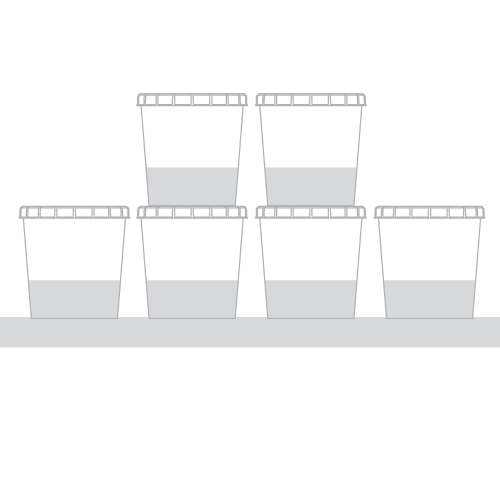
2
Option 2: Stackable flat lid
Use flat lid to stack cups.
