
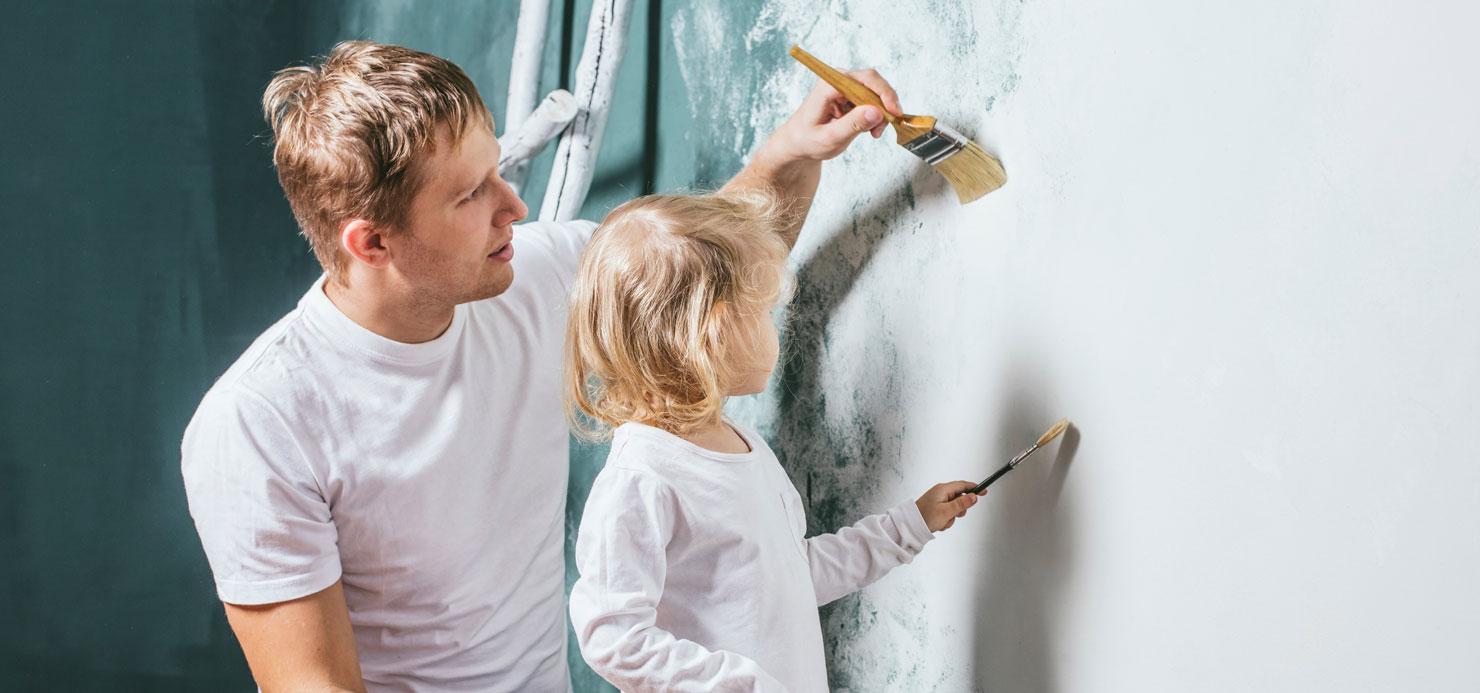
Choosing the Right Paintbrush
Choosing the right paintbrush is important for your painting project. It affects the final look and the time it takes to finish.When picking a brush, think about the bristle type, what you're painting, and the paint you're using. The choices you make will depend on your project. If you're painting a wall with water-based paint, you'll need one type. But if you're using oil-based paint on a skirting board, you'll need a different type.
Sounds complicated? We're here to make it simple for you.
In this article we will cover the following topics:
Type of Bristles
The choice between natural and synthetic bristles is an important one. As a rule of thumb, using natural or mixed bristle brushes for oil-based paints and synthetic brushes for water-based paints is a good idea. Here's why.

Natural bristles have flagging or splitting at the tips, which helps to produce a smooth finish and holds plenty of paint. They're better suited to oil-based paints because the natural bristles are stronger, and stand up to the chemicals better, letting you apply the paint without leaving marks.
Synthetic brushes work best for water-based paint because they don't draw moisture out of the water-based paint, so it's easier to apply than with a natural bristle brush and won't leave strong brush strokes and ruin your finish. You can get synthetic brushes in various materials, such as nylon, polyester and a blend of the two, and they're easy to use and clean up well.
What Is the Best Paintbrush for Decorating?
Brush Size
So you've chosen the bristle. Now it's time to pick the size. How big or small your brush is will be affected by how well-suited it is for a particular job, which means both the width of the bristle area and the thickness of the bristles.
Thick brushes hold more paint to cover more ground before you need to reload, while thinner brushes are lighter and offer better control – so you've got to match your brush to the surface you're painting.
Choose a brush wide enough to cover efficiently yet narrow enough to control the paint application. If you're painting a small area, a broad brush doesn't work well as you'll have little control when painting fine and intricate areas.
A 2-2.5 inch is the best paintbrush for cutting in, but if you're painting doors or skirting boards, you'd be best with a 1-inch brush. When tackling large, flat areas, you might be wondering what is the best paintbrush for walls and ceilings.A 5-inch brush is great for larger areas and will cover the surface faster. However, a roller would be best when decorating a room, such as painting multiple walls and the ceiling.

Brush Shape
Now you know what bristles and how big, but what about the shape? Paint brushes are available in angled and flat styles, depending on what you need to paint.
Angled brushes work well for cutting in and edging, as they help you achieve straight lines. A thin angled brush is great for when you need a particularly crisp line, while a thicker angled brush holds more paint and works well along ceilings. If you're painting a large, flat surface, you'll need a flat brush to finish the job quickly and easily.
Remember that the tips of the brush hairs will have an impact on the paintbrush's ability to collect and distribute paint onto the surface being painted. Premium brushes with flagged or exploded bristles allow for a greater amount of paint to be picked up with each dip. The divided ends also aid in achieving a smooth application of paint without leaving brush marks. Consequently, investing a little more in your brush could ultimately save you time.

How to Clean a Paintbrush
-
Gather Supplies
- Prepare a container, mild dish soap or paint brush cleaner, warm water, a clean cloth or paper towels, and a brush comb or old toothbrush.
-
Pre-Cleaning
- Remove excess paint by gently wiping the brush on the paint can or palette without deforming the bristles.
-
Select Cleaning Solution
- For water-based paints, use mild dish soap and warm water.
- For oil-based paints, consider a specialised cleaner or mineral spirits.
- Always follow the instructions for the cleaning agent you choose, and ensure you dispose of the cleaning solution following your national and local guidelines
-
Soaking
- Submerge only the bristles in the cleaning solution, avoiding the ferrule.
- Soak the brush for several minutes.
-
Agitation and Brush Comb
- Gently agitate the bristles using your fingers or a brush comb to dislodge paint particles and dried-on residue.
- An old toothbrush can help with stubborn paint.
-
Rinse and Repeat
- Rinse the brush thoroughly under warm running water, squeezing out paint and cleaning solution.
- Repeat soaking and agitating if necessary.
-
Drying and Storage
- Reshape the bristles, blot excess water, and let the dry brush flat or upside down to ensure proper air circulation.
- Avoid storing wet brushes upright.
Properly cleaning and maintaining your paint brushes is essential for achieving optimal results and prolonging their lifespan. Neglecting this crucial step can lead to hardened bristles and diminished performance.
No matter what type of paintbrush you choose, focus on the construction quality for the best results. Look for dense bristles and test the brush by bending it back near the base; a solid paint brush springs back.
Choosing the right brush allows you to get a smooth, high quality finish on your surfaces. But remember, decoration is preparation – so make sure you lay the groundwork and prepare your canvas before putting your brush to a wall!
Are you planning to paint your walls soon? If so, be sure to read our article on Five Common Issues When Wall Painting. In this article, we discuss five of the most common problems that people encounter when painting their walls, and we provide tips on how to avoid or fix them.
Related / Related Stories

Oakey Introduces Liberty Green Sandpaper Made with Recycled Materials
Oakey, a brand of Norton Abrasives, has introduced a new generation of Liberty Green sandpaper, whic...

Oakey Liberty Green Sandpaper Video for Superior Sanding

Take a look at the new Saint-Gobain Abrasives Non-woven plant in Maia, Portugal!
Go behind the scenes and see the construction and inner workings of our brand new plant! Hear from Robin Cook, Global Non-woven Product Manager, and Plant Manager Fernando Oliveira as they explain mor...

New Non-woven production & conversion plant in Maia, Portugal
Our new, state-of-the-art non-woven production facility, located in Maia, Portugal is a significant ...

Saint-Gobain Abrasives publishes the world’s first EPDs for abrasive products
Saint-Gobain Abrasives publishes the world’s first Environmental Product Declarations (E...

NORTON INTRODUCES CUTTING AND GRINDING DISCS MADE WITH RECYCLED MATERIALS, INTO THE DIY MARKET
Norton is pleased to announce the launch of its new generation DIY cutting and grinding ...

How to Use Non-Woven Hand Pads
A guide on how to use non-woven hand pads for removing surface coatings and light deburring, or for ...

Highlighting the Safety of Abrasive Tools in October
Once again, during the month of October, oSa® (Organisation for the Safety of Abrasives)...

A Guide to Sanding Skirting Boards
Sanding skirting boards is an essential part of preparing your skirting boards for a paint refresh.